Can I Replace the Background with a Custom Image After Removing It?
Yes, you can replace the background with a custom image after removing it. In fact, this is one of the most useful features of modern editing tools. Whether you are creating content for social media, product listings, or personal projects, background replacement helps you control how your image looks and feels.
In this article, we will break down how background replacement works, when you should use it, and how to get better results without making things complicated.
What Does Background Removal Mean?
Background removal is the process of separating the main subject from the rest of the image. This is usually done using AI-based tools that detect edges, colors, and shapes to isolate the subject.
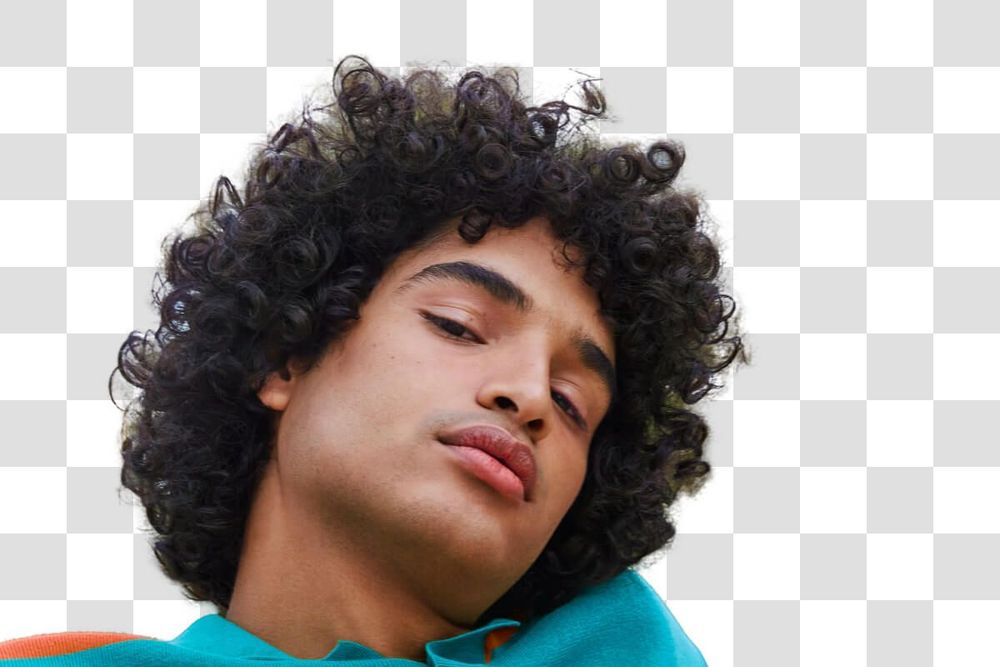
Once the background is removed, you are left with a transparent image. This allows you to place the subject on any new background you want.
Many online tools like Background Remover make this process simple. You upload an image, and the tool automatically removes the background within seconds.
Can You Add a Custom Background After Removal?
Yes, after removing the background, you can add any custom image behind your subject. This could be:
A solid color background
A blurred scene
A product-style white background
A travel location
A creative or themed design
Most AI tools support this feature directly. Some even offer built-in templates so you don’t have to search for backgrounds separately.
Using an AI Background Remove tool makes this even easier because it handles both removal and replacement in one place.
How the Process Works
Here is a simple step-by-step explanation:
1. Upload Your Image
Start by uploading the image you want to edit. Make sure the subject is clear and not too blended with the background.
2. Remove the Background
The tool automatically detects the subject and removes the background. This usually takes a few seconds.
3. Download or Edit Further
Once the background is removed, you can either download the transparent image or continue editing.
4. Add a Custom Background
Upload your own background image or choose one from the tool’s library.
5. Adjust Position and Size
Place your subject properly on the new background. Resize and align it so it looks natural.
When Should You Replace Backgrounds?
Background replacement is useful in many situations:
For Social Media Content
You can create clean and consistent visuals for platforms like Instagram or Facebook.
For Product Photography
If you sell products online, replacing backgrounds helps maintain a professional look.
For Personal Photos
You can place yourself in different locations without actually being there.
For Marketing Materials
Custom backgrounds help match your brand style and messaging.
Tips for Better Results
Replacing a background is easy, but making it look natural takes some attention. Here are some practical tips:
Match Lighting
If your subject has bright lighting, choose a background with similar lighting. This avoids a mismatch.
Check Shadows
Adding a soft shadow under your subject can make the image feel more realistic.
Use High-Quality Images
Low-quality backgrounds can make the final result look poor, even if the subject is clear.
Keep Perspective in Mind
Make sure the angle of the background matches the subject’s position.
Avoid Overcrowded Backgrounds
Simple backgrounds often work better because they keep focus on the subject.
Common Mistakes to Avoid
Even though tools are easy to use, some mistakes can reduce the quality of your image:
Using backgrounds that don’t match the subject
Ignoring color balance
Stretching the subject too much
Choosing very busy or distracting images
Not refining edges after removal
Fixing these small issues can make a big difference.
Why Use AI Tools for Background Replacement?
AI tools save time and effort. Instead of manually cutting out subjects, you get fast and accurate results.
Here’s why people prefer them:
No design skills required
Quick processing
Automatic edge detection
Easy background swapping
Works on most image types
Platforms like Background Remover combine all these features, making them useful for beginners and professionals alike.
Is It Suitable for Professional Use?
Yes, background replacement is widely used in professional work. Many businesses rely on it for:
E-commerce listings
Advertising creatives
Branding materials
Website visuals
The key is to ensure that the final image looks clean and natural. If done properly, it can meet professional standards.
Final Thoughts
So, can you replace the background with a custom image after removing it? Absolutely. It is one of the main reasons people use background removal tools in the first place.
With the help of modern tools and simple techniques, you can create images that look polished and ready to use. Just focus on matching lighting, choosing the right background, and keeping the design simple.
If you are just starting out, try using an AI Background Remove tool and experiment with different backgrounds. Over time, you will get better at making your images look natural and engaging.

